
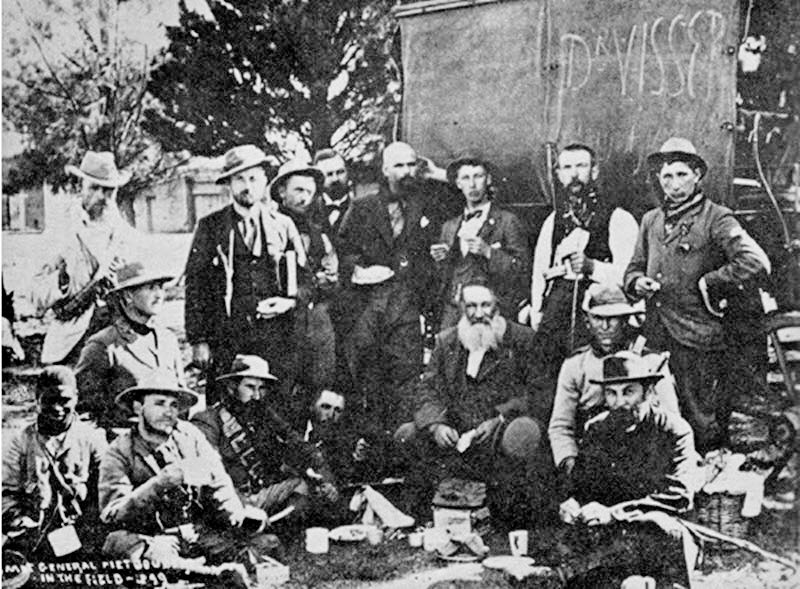
Boer Troops
The history of the Boer War is now mostly forgotten, but its importance cannot be understated. It was the first great war in which the British Empire drew on its colonies and dominions to fight on behalf of the Empire. And although it did not know it at the time, it also marked the high water mark of the British Empire. The harsh lessons it learned at the hands of the plucky Boer republics failed to be applied to the Great War that followed soon after. The unequal struggle between the tiny Boer republics and the enormous might of the British empire at its height, is a story which deserves to be remembered. It is a history of courageous warriors, daring raids, and bungled opportunities.
There were actually two Boer Wars, the First and the Second Boer Wars. The First Boer War was fought from 16 December 1880 until 23 March 1881 between the British Empire and the Boer republics of Transvaal, Natal and Orange Free State, which were composed of Dutch settlers living on the fringes of the British colony of Cape Town in Southern Africa. The First Boer war resulted in a decisive Boer victory. Although Natal was absorbed by the British Empire, the Republics of Transvaal and the Orange Free State gained their independence.
The Second Boer War was fought from 11 October 1899 – 31 May 1902 and resulted in an eventual British victory and the loss of independence of the Orange Free State and the Transvaal. This site focuses on the Second Boer War, which is more commonly referred to as the Boer War or th Anglo-Boer War. This is a summary of the Boer War.
The Boer War arose partly over a desire by the British to avenge their honour for their defeat in the First Boer War, the first tine that the British Empire had been decisively defeated in war since the American War of Independence. The immediate cause of the war was the discovery of gold in Boer territory, which attracted many British citizens in a gold rush. Despite being guests in a foreign country, these fortune hunters agitated for voting rights, which if granted would have resulted in the Boers being outnumbered and outvoted in their own country. When the Boers refused, British imperialists and war hawks advocated for the invasion of the Boer Republics. Knowing that war was inevitable, the Boers mobilized and struck first, invading British territory. They had hoped to cause the Boers of Natal and elsewhere living under British rule to rise up and join the Boer cause.
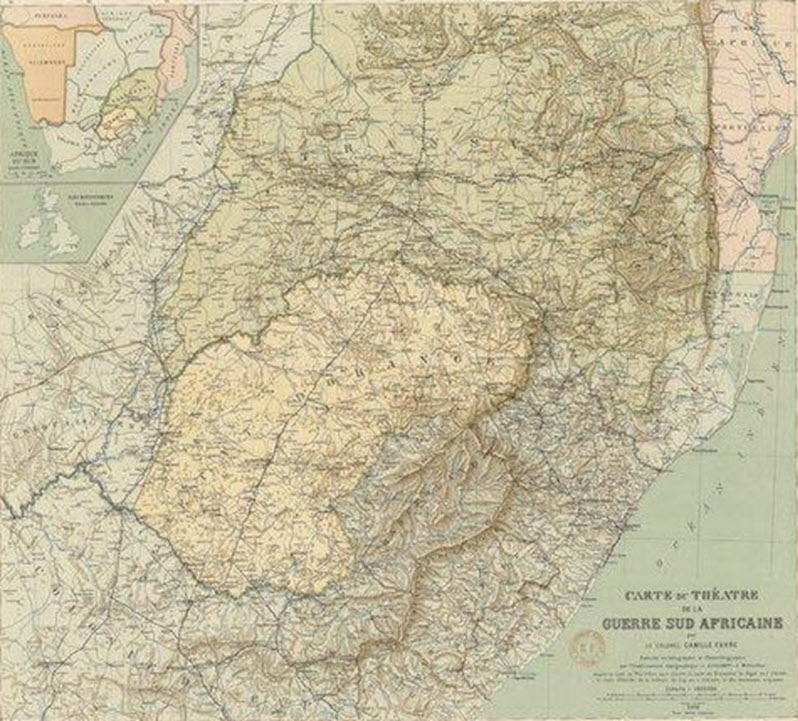
Contermporary map Showing the Location of the Fighting in the Boer War
The initial phase of the Boer was conventional, involving movement of regular Boer units including artillery. The attack faltered when the Boers were unable to seize the towns of Ladysmith, Mafeking and Kimberley. The sieges of these towns tied up Boer resources and allowed the British to regroup.
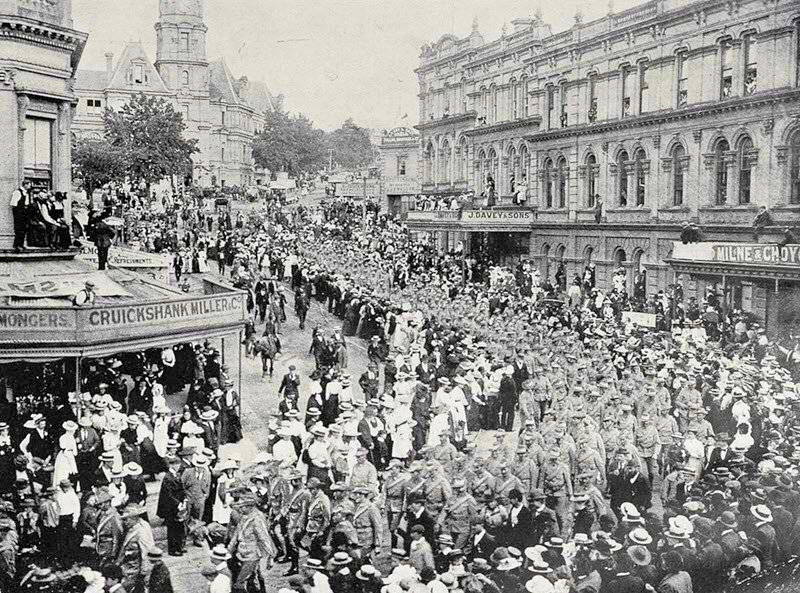
New Zealand Troops Marching to the Ships That Wiill Take Them To Fight for the British Empire
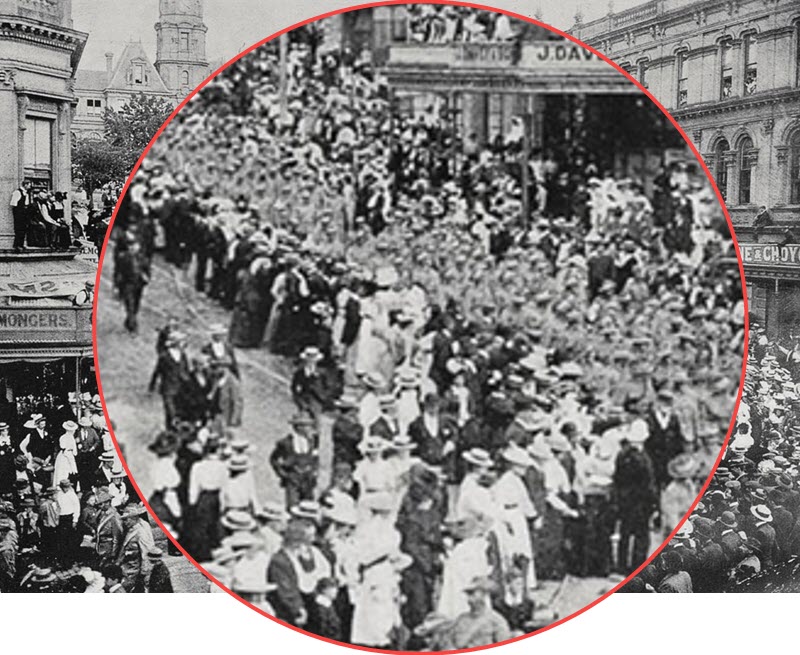
An enlargment of the above photo showing the crowds of women in stlish hats who came to cheer on the soldiers.
The numerically superior British forces eventually overcame the Boer armies and occupied the Boer capitals. However this did not end the war. The Boers adopted a guerilla strategy, employing mounted commando units in daring raids and hit and run attacks on British forces. To its embarrassment, the British were forced to call on for help from the Empire including the newly independent Dominions of Canada and Australia. Despite vastly superior numbers and firepower, the British were not able to score a decisive victory.
The British then adopted a counter insurgency strategy which was brutal but effective. Boer farms were destroyed and civilians moved to concentration camps in order to deny the Boer combatants supplies and the ability to hide among the civilian population. Many of the civilian women and children who were moved to British concentration camps were killed by malnutrition and disease. It is a shameful but forgotten example of British war crimes.
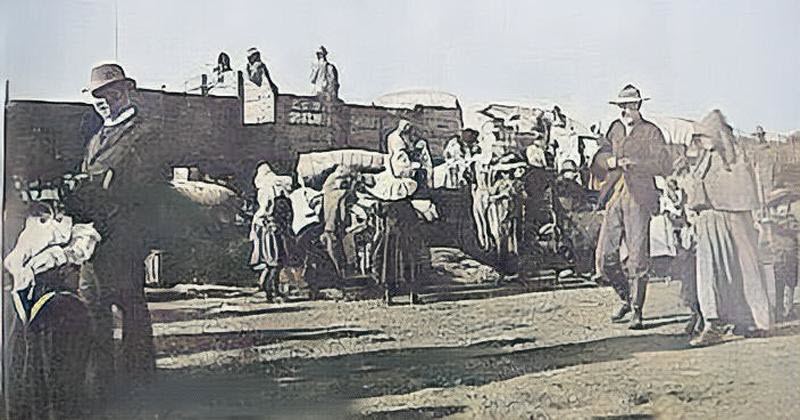
Colorized Photo of Boer Civilians Being Herded onto Trains Bound for British Concentration Camps. Although the scene may seem genteel, the civilians faced harsh imprisonment and were deprived of adequate food and sanitation. Many died of starvation and disease.
In addition to rounding up the civilian population, the British partitioned the country by a chain of forts and look out towers in order to deny the Boer commando units freedom of movement. Despite these harsh measures the war continued and overall the Boers proved to be better led and to be the better fighters. The incompetence of the British high command was exposed by numerous failures in battle, but these career officers were not demoted and nothing was learned. Many of these same idiots led British forces into disastrous massacres during the First World War.
Eventually, overwhelming British force and barbarity won out and the Boers surrendered. By the terms of an unequal peace treaty, the last independent Boer Republics were absorbed into the Union of South Africa.